Blog
Nov 10, 2013
Laser - Marking, Engraving and Cutting Products
Nov 10, 2013
Pumpkin Engraving using your laser!
Category:General
Posted by: Gary
Engraving pumpkins are easier then you think…
1. Cut the stem off the pumpkin
2. Clean all the seeds out of your pumpkin
3. Turn the pumpking and find the flatest surface to engrave the image
4. Take a large spoon and remove much of the side wall thickness only at the point you will engrave the image. Pumpkins have about 1.5″ thick wall. You need to remove most of that thickness so that when you laser engrave, you will have a think layer of side wall left. This is important so that your pumpkin will glow when lit from the inside
5. Find an image or make an image. I went to www.pumpkinglow.com to find the M&M’s guys.
6. Laser the pumpkin…

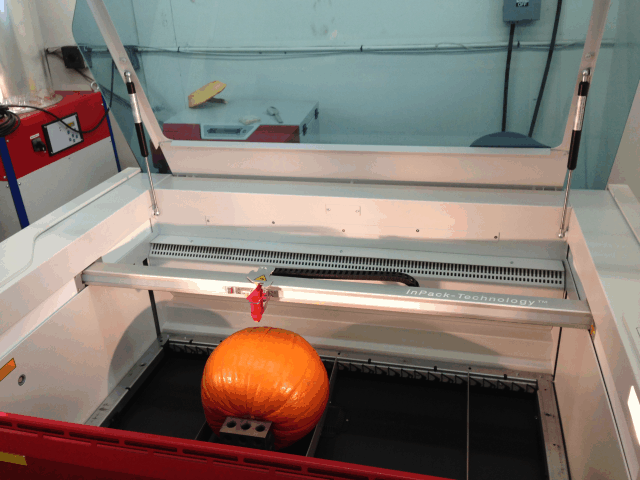
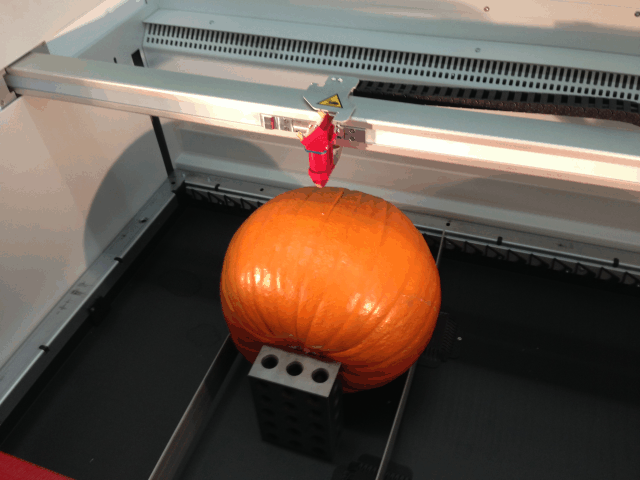
Use a flatebed CO2 laser system that is large enough to fit your pumpkin in and still be able to focus. I find a large pumpkin with the flattest surface. A Flat surface is important because you want the image to stay in focus throughout the entire engrave. If your pumpkin will not fit into your laser system – no problem – you will just need to cut a panel out of your laser and place that panel on the laser table.

Use the largest lens possible. I used a 4″ lens because larger lens’ have much more forgiveness to curved surfaces. You want the image to be as crisp and uniform as possible.

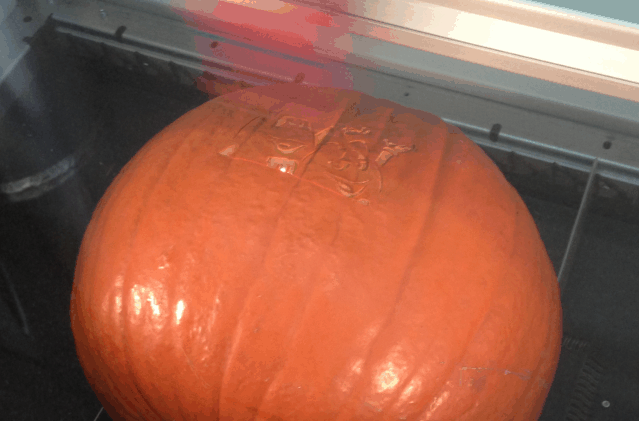
Here is a photo of the process in action. You can see the M&M’s image is about half way done

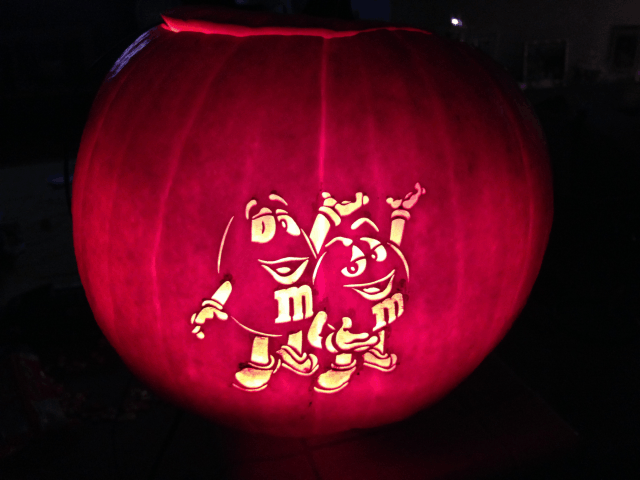
The finshed product! I used a light inside to give a brighter appearance versus using a candle. Yes – it really does look that good!